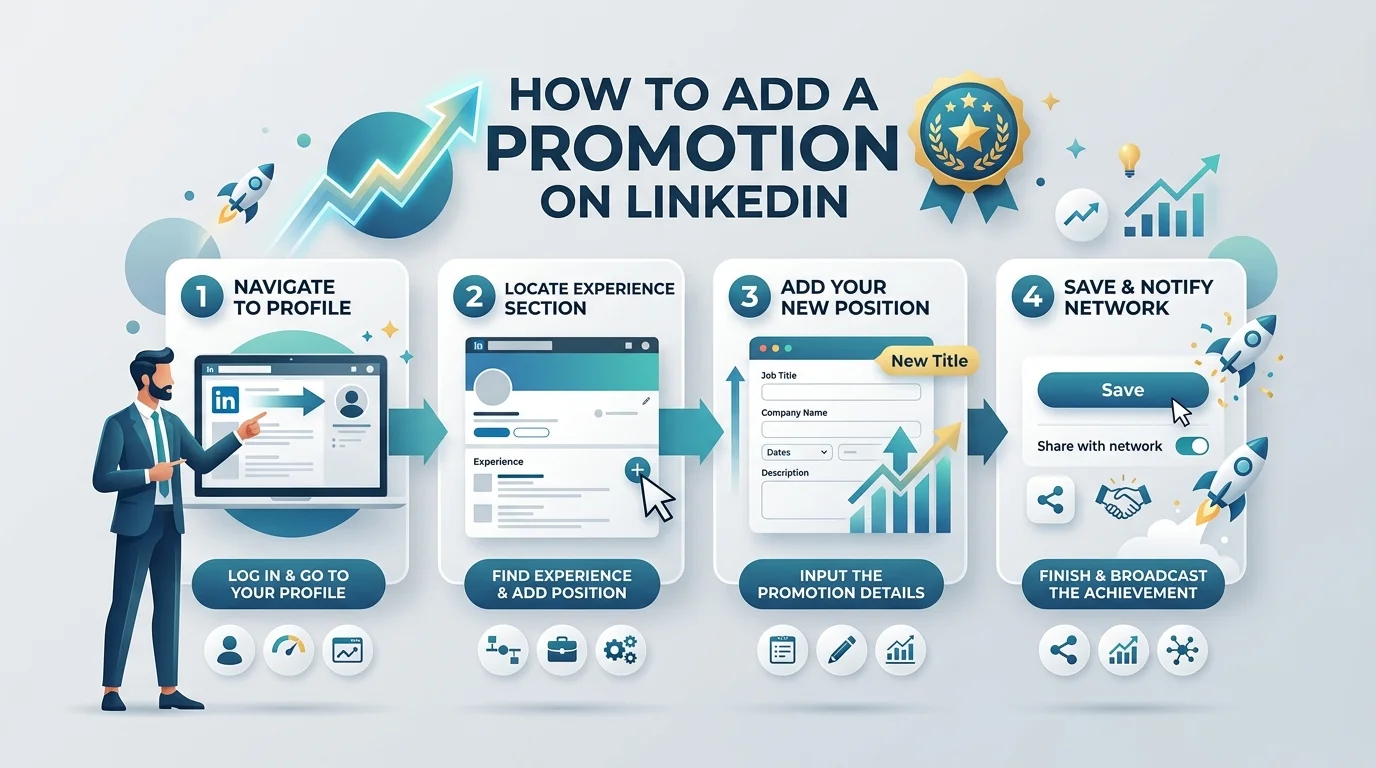
To add a promotion on LinkedIn, click the Me icon → View Profile, scroll to your Experience section, click the plus (+) icon, and choose Add position (shown as Add role on newer accounts). Enter your new job title, select the same company from the autocomplete dropdown so both roles nest under one employer, set the start date to the month your promotion took effect, then toggle Notify network on or off before saving.
That's the whole thing. Everything below is the detail that separates a profile update people scroll past from one that actually earns you something.
You got promoted. Congratulations — seriously.
Now comes the awkward part: telling 2,000 people about it without sounding like a walking press release.
Here's the thing most people miss. Adding a promotion on LinkedIn isn't just profile housekeeping. It's a visibility event. When you update your Experience section, recruiters, old colleagues, and potential clients click through to see what changed — and on a platform whose advertising reach DataReportal puts at roughly 1.2 billion members, that's not a small audience to wave at.
In a decade of coaching people through this exact update, I've watched most of them waste that window completely. They tick a box, leave the description blank, and let the platform generate a generic celebration card.
Let's not do that.
The one thing to remember: LinkedIn has two separate layers of notification control — a per-edit toggle inside the Add Experience window, and a global setting under Settings & Privacy. Switching off only one of them is how people accidentally broadcast a promotion they wanted kept quiet. I'll cover both below.
Before you touch anything, you need to know which structure you're building. Because LinkedIn treats these two scenarios very differently, and choosing wrong quietly sabotages how your career story reads. An internal promotion should nest underneath your existing company entry. A new job at a new employer gets its own separate block. Mix these up and recruiters see a fragmented timeline instead of upward progression — which is the opposite of what you want.
Here's the quick test I use:
Your situation | What to do | What it signals |
|---|---|---|
Bigger scope, same employer | Add a new role nested under the same company | Progression, loyalty, growing responsibility |
New title, new company | Create a brand-new Experience entry | Fresh start, deliberate move |
Lateral move, same level | Frame it as a role change, not a promotion | Breadth, functional flexibility |
Interim or acting title | Add the role, mark it clearly as interim | Trust, transparency |
Pro tip: Adding an internal promotion as a separate employer entry is the single most common mistake. It breaks how LinkedIn surfaces the update in the feed and makes it look like you switched jobs.
Right. Let's actually do it. This is the method I recommend to everyone, because it keeps both roles visible under one employer and clearly shows your career progression timeline. It takes about four minutes. The only step people fumble is the company name — and I'll flag that one loudly when we get there. Follow this in order and your profile will nest the roles automatically.
Step 1. Click the Me icon at the top of your homepage, then hit View Profile.
Step 2. Scroll down to the Experience section.
Step 3. Click the plus (+) icon, then choose Add position. (Newer accounts show this as Add role — same thing. LinkedIn is mid-rename, so don't panic if your label differs.)
Step 4. Type your new job title.
Step 5. Now the important bit. Type your company name and select it from the autocomplete dropdown. Don't type it manually. Selecting from the type-ahead menu is what pulls in the official LinkedIn Company Page name and logo — and it's what links the two roles together.
Step 6. Set your employment type, location, and location type — Remote, Hybrid, or On-site.
Step 7. Tick "I am currently working in this role."
Step 8. Set your start date to the month the promotion actually took effect. Not today. Backdating is completely normal and triggers zero alarms.
Step 9. Write your role description. More on this below — please don't skip it.
Step 10. Decide on the notify network toggle.
Step 11. Hit Save.
Done. LinkedIn's own Experience section help page confirms this exact flow — including the alternate path via Add profile section → Core → Add position — if you want to verify it against the source.
There's a second route, and honestly? It's a little clunkier, but some people prefer it because the platform holds your hand. You edit your existing role, change the title, and LinkedIn notices what you're doing. A prompt pops up offering to preserve your old title as a separate entry. It works well — most of the time.
Click the pencil icon on your current role. Change the job title. LinkedIn will ask something like "Did you get promoted? Add a new position to show your career progression."
Click + Add new position.
One catch: if your old and new titles are very similar, that prompt sometimes doesn't fire at all. When that happens, go back and use the manual method above.
Mobile works fine, though I'll be candid with you — desktop is the safer bet. The LinkedIn mobile app occasionally hides or simplifies the notification controls, which matters enormously if you're trying to update quietly. If you're announcing loudly anyway, mobile is perfectly adequate and takes two minutes on a train.
Tap your profile photo → View Profile → scroll to Experience → tap + → Add position.
Same fields. Same rules. Same company-dropdown warning.
Sometimes you need this to be quiet. Maybe HR hasn't announced internally yet. Maybe you're still inside a probationary window. Maybe you just don't want 400 "Congrats!" comments cluttering your notifications for a week. Whatever the reason, adding a promotion on LinkedIn without notifying anyone is entirely doable — you just need to handle both control layers, because missing one is how people get caught out.
Layer one — the per-edit toggle. Inside the Add Experience window, find Notify network (sometimes labelled Share with network) and switch it off before you save. On many accounts it defaults to on.
Layer two — the global setting. Go to Settings & Privacy → Visibility → Visibility of your LinkedIn activity, find Share job changes, education changes, and work anniversaries from profile, and turn off sharing profile edits. Flip it back on later when you're ready to announce.
One warning worth tattooing somewhere: once you save with notifications on, that alert goes out instantly and cannot be recalled.
Check twice. Save once.
Now here's where I get slightly evangelical, because this is the part almost everyone leaves blank — and it's the most valuable real estate on the page. Your role description is indexed. It's what surfaces you in recruiter search. Writing "responsible for managing the team" wastes it entirely. Write outcomes with numbers instead, and you become findable for the exact terms recruiters actually type.
Weak: Responsible for overseeing marketing operations and managing a team.
Strong: Led a 12-person team that grew qualified pipeline 40% YoY and cut CAC by $180 per account. Rebuilt attribution reporting now used across three business units.
See the difference?
Lead with impact. Use bullets. I'd keep it tight — a few strong lines beat a wall of text nobody finishes.
A promotion isn't one edit — it's four. Doing only one creates a profile that contradicts itself, which reads sloppy to anyone who lands on it during that spike in traffic. Update everything in a single session so your professional branding stays consistent top to bottom.
Your headline. Don't just paste the title. Pair it with value: "Head of Growth | Driving SaaS revenue through data-driven marketing." If you're stuck on phrasing, these LinkedIn headline examples cover formats by role and seniority, and Teal's guide to the Experience section breaks down which fields carry the most search weight.
Your About section. Add a line about the new chapter and what you're focused on now.
Your Featured section. Pin work that reflects the new scope, not the old one.
Your top three skills. Re-pin them to match the role. This directly affects which searches you appear in.
A promotion is also the natural moment to tighten everything else. This LinkedIn personal branding guide walks through how the profile, your posting cadence, and your engagement habits should reinforce each other — worth reading while the traffic spike is still live. And if you're rebuilding the whole profile rather than patching it, Coursera's work history walkthrough covers the foundational fields properly.
You've updated the profile. Now the post — optional, but it's free reach and you've earned it. In my experience the announcements that land run short, lead with the news, name one measurable win, and thank one or two specific people rather than vaguely gesturing at "the whole team."
Post soon after it becomes official. Mid-week mornings tend to work best, though your own analytics will tell you more than any general rule will.
And please — retire "I'm thrilled to announce."
Try this shape instead:
Three years ago I joined as employee #12. Today I'm stepping into the VP of Sales role.
The thing I'm proudest of isn't the title — it's that the team we built closed $4.2M last year with four people.
Thanks to [Name] for pushing me into the deal desk work I was convinced I'd be terrible at.
Next up: building out our first enterprise motion. If that's your world, I'd love to compare notes.
Resume Worded has a solid set of scenario-specific templates if none of that fits your situation.
Hold off if you're inside a probationary period, if HR hasn't made the internal announcement yet, if the move is confidential, or if your profile is still half-finished. A premature announcement is genuinely awkward to walk back.
Most problems here have the same root cause — a company name mismatch — but a few others come up often enough to be worth listing. Work through these before assuming LinkedIn is broken.
My two roles aren't grouping under one company. The company name must match exactly. Go back into both entries and re-select the employer from the autocomplete dropdown rather than typing it. Also check that your dates don't overlap oddly.
I added the wrong entry. Click the pencil icon on that experience, scroll to the bottom of the edit form, and select Delete experience. It's permanent.
I set the wrong start date. Just edit it. Correcting a date doesn't fire a fresh notification.
I updated my English profile but my second language still shows the old title. This one catches people out. Secondary-language profiles don't sync automatically — per LinkedIn's own documentation, you have to update each language version manually.
The notify toggle didn't appear at all. You're probably on mobile. Switch to desktop, or handle it through the global Visibility setting instead.
Does LinkedIn notify my network when I add a promotion?
It can. Adding a new position typically triggers a notification if the toggle is on; editing an existing role usually doesn't. You control it via the toggle and your Visibility settings.
Can I backdate a LinkedIn promotion?
Yes. Set the start date to the month the promotion took effect. Backdating is standard practice and doesn't send any additional alert.
Should I delete my old job title?
No. Keeping both roles nested under one employer is the entire point — it's what shows progression.
Is it "Add position" or "Add role"?
Both. LinkedIn is rolling out the new label gradually, so the wording depends on your account.
How soon should I update after being promoted?
Once it's official and internally announced. Updating before HR communicates the change internally can create genuinely awkward conversations.
What if my promotion is a title change with no scope change?
Add it, but frame it accurately in the description. Overselling a lateral move is easy for hiring managers to spot.
Do I need to write a post at all?
No. The profile update alone puts you back in recruiter search results with a fresh timestamp. The post is upside, not obligation.
Can I undo a notification once it's sent?
Unfortunately not. This is why the toggle deserves a second look before you hit Save.
Where does LinkedIn officially document this?
The Manage your profile Experience section help page is the primary source for every step above.
One last thing, and I'd rather say it plainly than pretend otherwise: your promotion is the credential. No tool, template, or subscription substitutes for a description that shows what you actually did. Get the structure right, write the numbers down, and the platform will do the rest of the work for you.

Thomas Whitfield is a career coach and personal branding specialist who helps professionals at every level build a compelling LinkedIn presence. He writes about networking, visibility strategies, and using AI to stand out in competitive industries.
AIReplyBee is your AI-powered LinkedIn reply generator that helps you create authentic, engaging responses in seconds.
Generate your first replyWhat is a collaboration post? Learn how Instagram collab posts work, why they boost reach, and how to set one up step-by-step.
InMail on LinkedIn lets you message anyone, even outside your network. See how it works, pricing, credits, and tips to boost replies.
Learn how to use ChatGPT effectively with the PTCF framework, 7 practical steps, and a real before/after example that actually works.